An address such as hello@your-domain.example looks simple. Getting it working
usually means making several decisions: where incoming mail goes, which service
sends replies, which DNS records authenticate the domain, and how to test the
result. For application email, there is another concern: adding a sender should
not accidentally move the company's existing incoming mail.
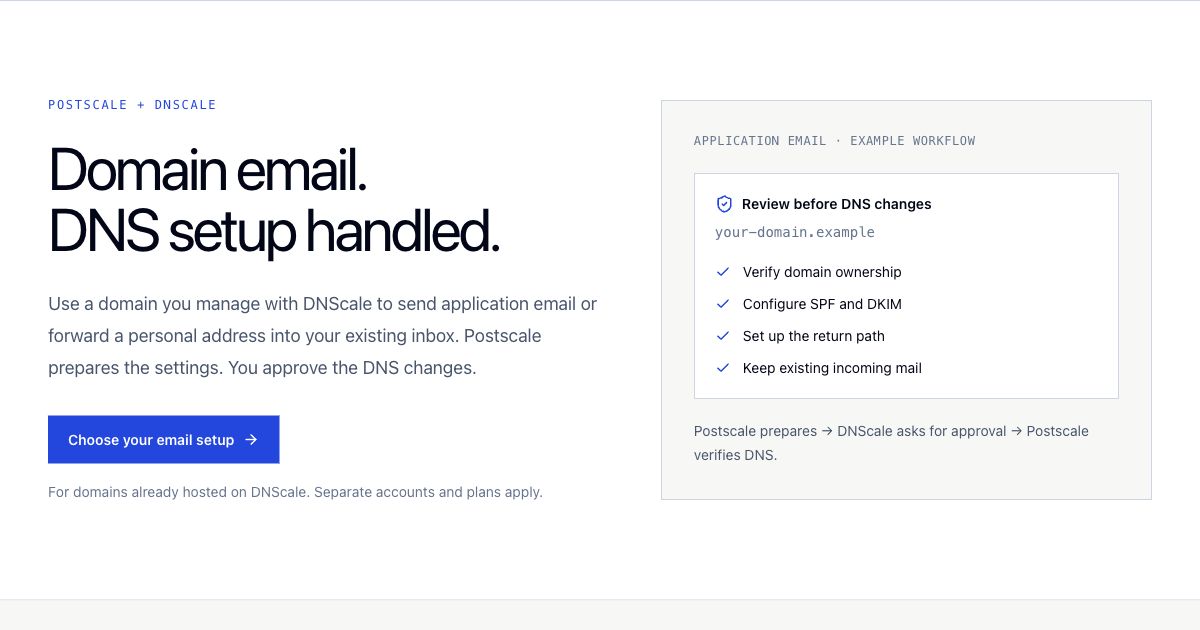
Postscale and DNScale now connect those setup steps. If your domain's DNS is hosted on DNScale, Postscale prepares the email configuration and sends you to DNScale to review and approve the records. You can start from either your DNScale zone or Postscale's automatic DNS setup page.
The aim is less copying between dashboards and a clearer path to a tested setup. You still choose the email workflow, sign in to each service and approve the changes. DNS verification and a real delivery test finish the job.
Choose the email workflow first
For a worked example, read send application mail without changing MX. For a personal address, use the forwarding versus mailbox decision guide. Both explain what to verify before changing an existing mail setup.
Application email is for receipts, notifications, sign-in links and other messages sent through the Postscale API or SMTP. Postscale prepares the domain's authentication and return-path records. This option leaves your MX records unchanged, so you can keep receiving mail with your current provider.
Personal forwarding gives you an address on your domain that forwards into the existing, verified inbox on your Postscale account. Use an inbox outside the domain being configured. You can configure Postscale SMTP in a compatible mail client for sending from the domain, subject to the account's sending approval and volume limits.
Personal forwarding requires Starter or a higher Postscale plan. It does not include a hosted mailbox, IMAP or webmail. DNScale and Postscale have separate accounts and billing; the integration does not bundle the two subscriptions. Check the current Postscale plans before choosing this option.
1. Start with a domain you already manage
In DNScale, open an active primary zone and choose Set up email with Postscale. The domain arrives prefilled. Alternatively, start in Postscale and enter the domain yourself. You need permission to edit the DNScale zone and a verified administrator account in Postscale.
Choose application sending or personal forwarding. For a personal address, enter
the local part, such as hello. The forwarding destination is your verified
Postscale account email. The setup remembers your choices through sign-in and
plan selection so you can continue where you left off.
2. Let Postscale prepare the settings
Postscale prepares the domain, DKIM signing configuration and return path. For personal setup, it also prepares the forwarding address. The setup is saved: reloading the page or returning after an interruption does not require starting again or creating another copy of the same configuration.
If automatic setup is unavailable, use the DNS records on the domain page for manual configuration.
3. Review the changes in DNScale
Choose Connect with DNScale, sign in if needed, and inspect the DNS preview. You see the records involved before approving the changes with your existing zone permissions. There is no customer API key to copy between services.
DNScale preserves unrelated records and existing DMARC policy. It merges a compatible existing SPF record instead of adding a second SPF policy. Conflicting records stop the flow for review rather than being silently overwritten.
Application setup keeps incoming mail in place. Personal receiving may need to replace existing MX records, and that requires a separate confirmation. Prepare every receiving address you need before moving MX. The change affects incoming mail for the whole domain; creating one forwarding address is not a migration of all existing addresses or stored messages.
If setup is interrupted, resume it in Postscale. Reconnect if the approval link has expired, and review any conflicts before continuing.
4. Verify DNS, then test actual email
After approval, return to Postscale and verify DNS. Propagation can take time. Check your account's sending status and limits before sending a test.
For an application, send a real test message and confirm receipt. For personal forwarding, send a message from another inbox to the new address, confirm it reaches the destination, then test sending and reply identity in your chosen mail client. The SMTP guide covers the connection settings. Use live credentials for delivery tests; test keys simulate sending.
Start with the workflow you need
The integration handles supported email DNS records on DNScale. It does not move your domain's authoritative DNS from another provider, migrate mailbox contents or configure your mail client automatically. Domains hosted elsewhere can still use the manual domain setup guide.
If Gmail is your current composing interface, review the January 2027 Send as change and domain-email options before deciding how you will send and reply.
Set up application email → Set up personal forwarding →Personal forwarding requires a paid plan and an existing verified inbox. See how setup starts from DNScale if your domain is already managed there.